About eight months ago, a friend brought over an engraved slate coaster he bought on Etsy for $22. It looked okay from across the room, but up close the lettering had those fuzzy, blown-out edges you get when someone runs a blunt laser beam way too hot. He asked if I could do better on my garage setup.
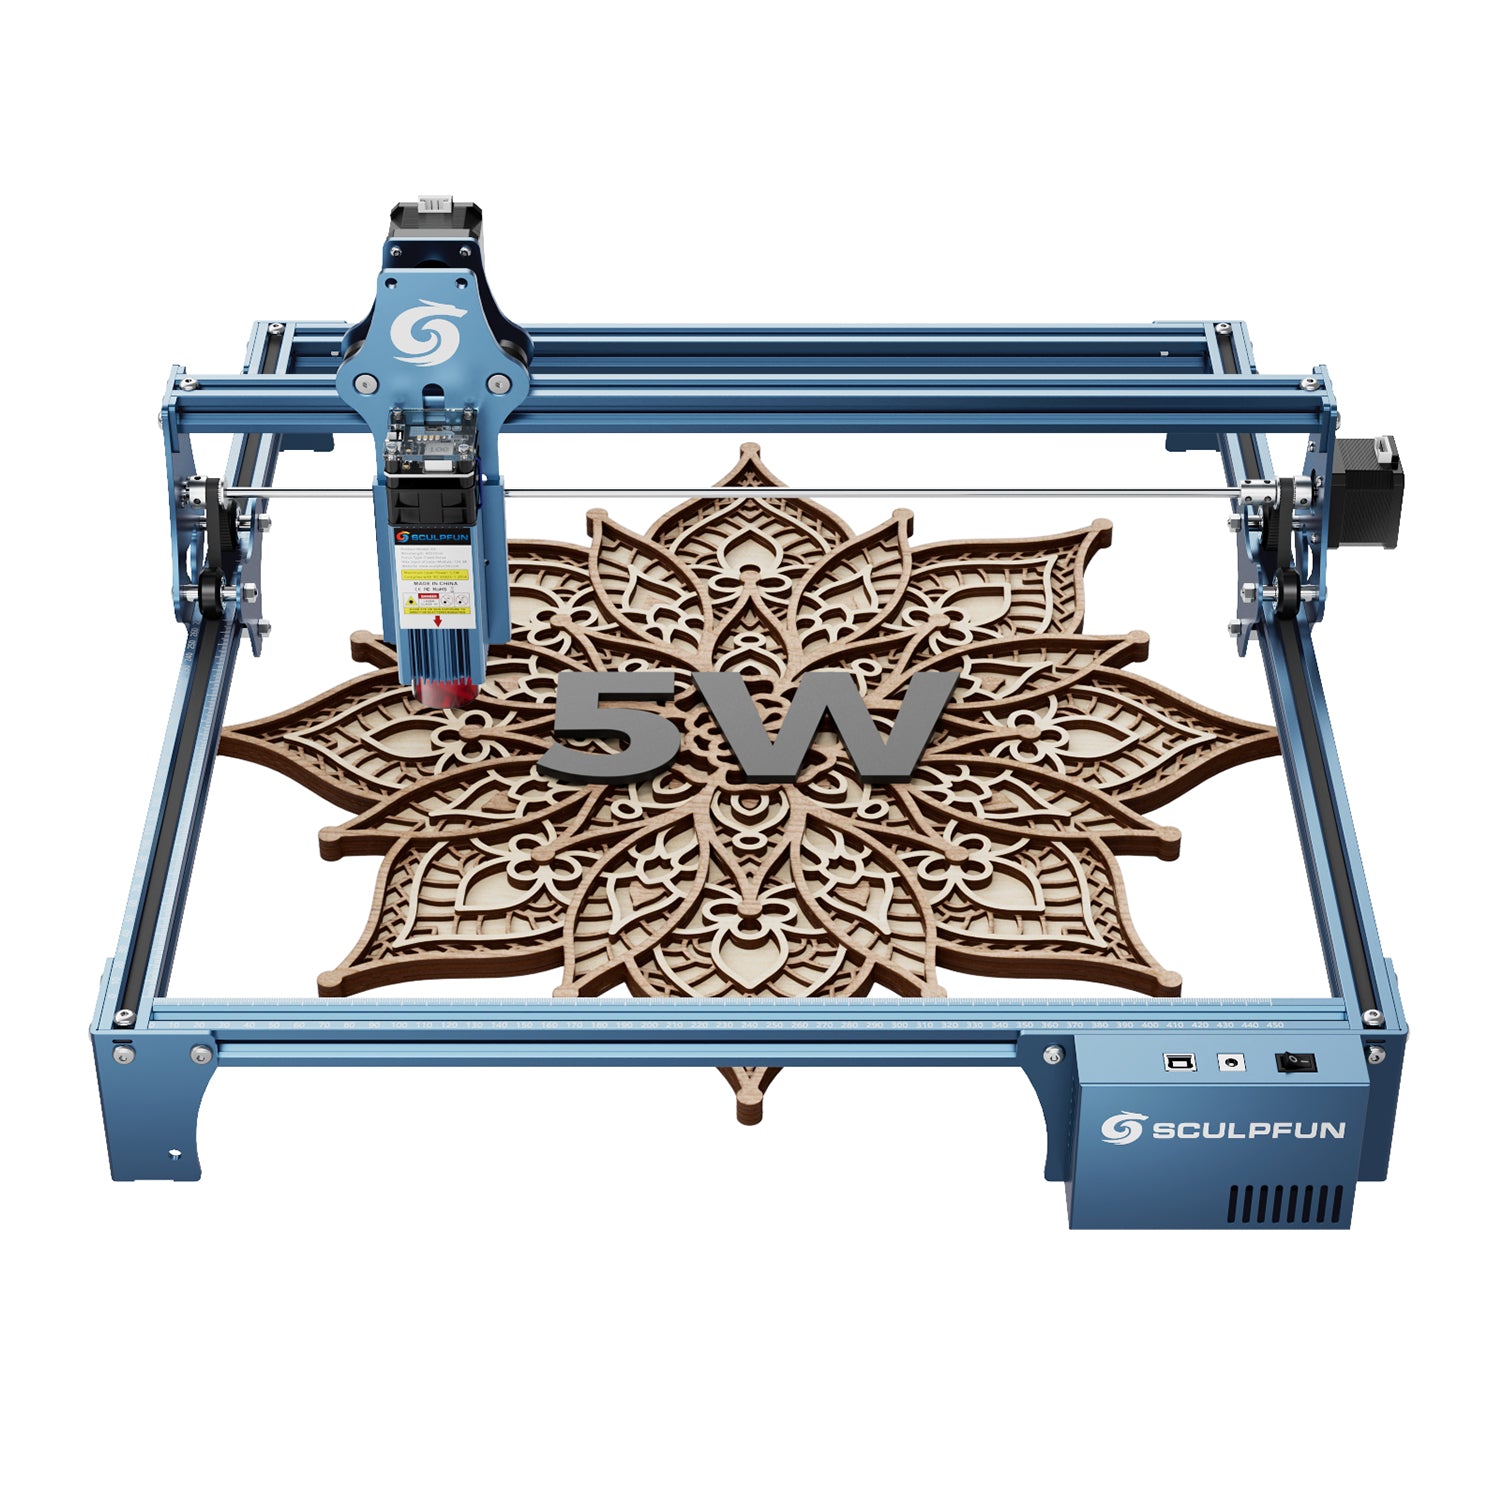
I pulled out a beat-up Sculpfun S9 5.5W laser engraver that I bought two years ago when I refused to drop four figures on a cabinet machine. We burned a test coaster in about seven minutes, wiped off the stone dust with a drop of mineral oil, and the micro-text was so crisp you could read the 8-point font with zero blur.
That is the paradox of the Sculpfun S9. On paper, everyone tells you that 5.5 watts is “underpowered” in 2026 when 20W and 40W diode monsters are everywhere. But wattage numbers on Amazon listings lie like rugs. What actually dictates detail is focal spot size, and the S9’s beam compression remains one of the sharpest tools you can put on a wooden bench for under $300.
The Real Deal on the 5.5W “Laser Beam Shaping” Tech
Let’s cut through the marketing jargon first. Sculpfun calls their diode module “laser beam shaping technology.” What that actually means in the workshop:
Most entry-level 5W diode modules produce a rectangular focal spot around 0.15mm x 0.15mm (or worse). The S9 compresses the diode output down to a razor-sharp 0.06mm x 0.06mm square spot.
Because that 5.5 watts of optical energy is concentrated into an area less than one-third the size of standard diodes, the energy density at the focal point is enormous. It behaves closer to an uncompressed 10W module for wood penetration, but with fine-line precision that 20W combined diodes can rarely touch without burning wide kerf trenches.
Here is what I have cut with it in my workshop:
- 3mm Baltic birch plywood: Cuts clean through in a single pass at 220 mm/min at 100% power (with DIY air assist running at 30 PSI).
- 5mm Basswood sheets: Cuts reliably in 2 passes at 300 mm/min, or 1 slow pass at 150 mm/min.
- 10mm Solid pine board: Requires 4 to 5 passes. Frankly, if you are doing 10mm pine every day, stop looking at 5W diodes and go read our best CO2 laser engraver guide or step up to a 40W head. But for crafting boxes, ornaments, and signage, the S9 handles 3mm to 5mm stock all day.
Assembly: What the Manual Forgets to Tell You
The S9 arrives in a flat cardboard box with foam inserts. Everything is all-metal: extruded aluminum rails, steel brackets, brass lead nuts. There are no cheap 3D-printed brackets holding the gantry together.
Assembly took me about 35 minutes on a Saturday afternoon with a mug of black coffee. A few practical tips you won’t find in the booklet:
- Squaring the frame is everything: When bolting the four corner brackets, do not tighten them down right away. Lay the frame on a dead-flat surface (a glass tabletop or flat cast-iron table saw top is ideal). Measure diagonal corner-to-corner with a tape measure. If the diagonals don’t match within 1mm, your cuts will come out trapezoidal instead of square. Tighten only after diagonals are identical.
- Belt tensioning: The S9 uses open-ended timing belts anchored by screws. If you tighten them like guitar strings, the stepper motors will whine and lose steps on long jobs. If they are loose, your circles will turn into ovals. You want just enough tension that plucking the belt produces a dull, low thud without sagging.
- The Focus Column: Sculpfun includes a little 20mm acrylic gauge block. You loosen the laser module thumbscrews, drop the block on your wood, lower the head until it rests gently on the block, and tighten the thumb screws. It takes literally three seconds. No fussy digital z-probes that break when sawdust gets inside them.
LightBurn & Software Workflow
The motherboard on the S9 runs standard GRBL firmware. You plug the included USB cable into your laptop, fire up LightBurn, and it recognizes the machine as “GRBL” immediately.
The usable working area is 410mm x 420mm (about 16.1 x 16.5 inches). That is slightly larger than most competing machines in this bracket. You can engrave a full-sized charcuterie board or a 15-inch wooden clock face in a single setup without needing extension kits.
A quick note on limit switches: The base S9 does not ship with physical endstop limit switches. When you turn it on, wherever the laser head happens to be sitting is treated as position (0, 0).
- I run mine using Current Position or User Origin mode in LightBurn. You simply jog the laser head with your hand to the bottom-left corner of your workpiece, hit the “Fire” button at 0.5% power to see the blue beam spot, frame the job boundary to verify clearance, and hit Start.
- If you absolutely must have absolute machine homing, Sculpfun sells a $15 limit switch kit on Amazon that plugs right into the board headers. But for hobby crafting, manual origin framing is faster once you get into the rhythm.
The One Essential Upgrade: Air Assist
If you buy an S9 without air assist, you are only using half the machine.
Out of the box, the conical laser hood tries to blow away some smoke, but without compressed air feeding directly into the focal cone, soot gathers on the lens and wood chars heavily on through-cuts.
I added a simple 30L/min aquarium diaphragm pump connected to a metal nozzle fitting. The difference was night and day:
- Cut kerf: Drops from a charred 0.3mm wide burn down to a crisp, paper-thin 0.08mm edge.
- Cutting speed: Increases by roughly 25-30% because the pressurized air immediately evacuates carbonized wood fibers out of the cut trench instead of letting them absorb the beam.
- Lens protection: Prevents sticky wood resin smoke from baking onto the glass optic.
Check today’s pricing on Amazon for the machine and official bundle: View Sculpfun S9 Diode Laser on Amazon
(Full disclosure: If you buy through that link, we may earn a modest commission that helps keep our wood shop stocked with test birch, at zero extra cost to you.)
Material Test Results (Hands-On Benchmarks)
Here are the real-world LightBurn settings dialled in from my personal material test cards:
| Material | Thickness | Speed (mm/min) | Power (%) | Passes | Notes |
|---|---|---|---|---|---|
| Baltic Birch Plywood | 3mm | 220 | 100% | 1 pass | Clean cut with air assist, zero backside scorching |
| Basswood Plywood | 3mm | 260 | 95% | 1 pass | Super clean edges, perfect for jigsaw puzzles |
| Cast Black Acrylic | 3mm | 160 | 100% | 2 passes | Mirror-like polished edge; clear acrylic cannot be cut by blue diodes |
| Dark Walnut Slab | Surface | 3000 | 45% | Engrave | Crisp dark brown contrast, incredible detail |
| Coated Stainless Tumbler | Surface | 2200 | 80% | Engrave | Strips powder coating cleanly down to shiny steel |
| Slate Coaster | Surface | 2400 | 75% | Engrave | Bright white frosty contrast, permanent water-resistant marks |
Sculpfun S9 vs. Creality Falcon 10W
If you are torn between the S9 and spending an extra $100 for a 10W machine like the Creality Falcon 10W:
- Choose the Sculpfun S9 if your primary goal is fine art engraving, photo engraving on hardwood, slate coasters, leather patches, and cutting lightweight 3mm plywood. The 0.06mm spot size delivers noticeably higher contrast gradients and tighter kerfs.
- Choose the Creality Falcon 10W if your daily work involves cutting 5mm–8mm timber in volume and you care more about raw speed than microscopic dot resolution.
The Verdict: Who Should Buy the S9?
The Sculpfun S9 is not a shiny consumer appliance that holds your hand with AI cameras and enclosure interlocks. It is an honest, bare-bones, open-frame desktop tool for people who like to tinker, tune their belts, and build things with their hands.
For under $300, its beam focus remains a gold standard in the 5W category. Keep the lens clean, hook up an air assist pump, and it will produce engraving results that look like they came off a machine costing four times as much.