I’ve burned through three cheap laser engravers in two years. Each one promised “plug and play” and delivered a pile of scorched plywood and wasted weekends. The first one couldn’t focus for shit. The second caught fire twice — once literally, when a stray reflection hit the acrylic enclosure. The third just died mid-engrave on a batch of wedding favors I’d promised a friend. I was done.
So when the xTool M2 10W showed up at my door, I’ll be honest — I rolled my eyes. Another enclosed diode laser with marketing buzzwords plastered on the box. “Built-in dual cameras.” “Class 1 safety.” “$599.” The price made me wince, but at that point, I’d already spent more than that on replacements and replacement parts. I figured I’d give it two weeks before it joined the graveyard.
It’s been a month. The M2 hasn’t joined the graveyard. It’s sitting on my desk right now, humming quietly through a batch of leather keychains — and I can watch it on my phone from the kitchen while my coffee brews. That’s the kind of thing I never thought I’d say about a desktop laser.
Let me break down why this thing actually works, and where it still pisses me off.
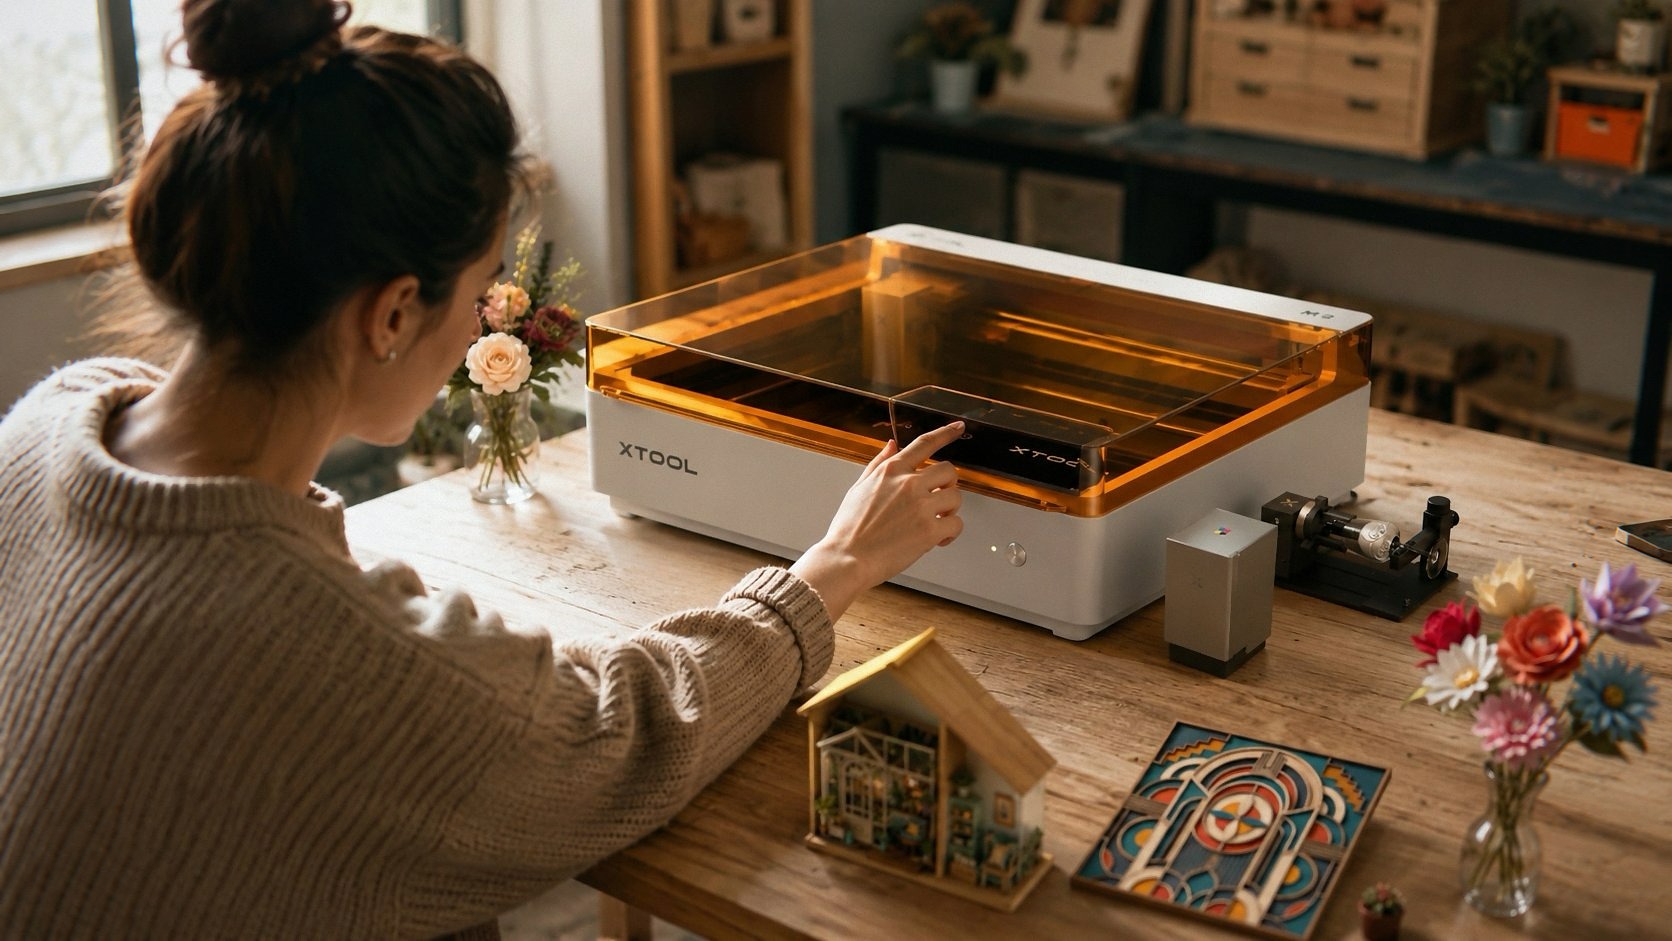
The Camera Thing Isn’t a Gimmick
Every cheap laser I’ve owned had the same setup ritual: line up the laser head over your material, press the “frame” button, guess if the damn crosshair is actually centered, run a test burn, adjust, repeat. It took me twenty minutes per project just to get alignment right. If the material shifted half a millimeter while you clamped it down, you’d have to start over.
The M2 has two built-in cameras. Not one — two. One wide-angle that sees the whole bed, and one close-up that’s actually positioned above the laser head itself. The software takes a photo of your workspace, overlays it on the screen, and you just drag your design to where you want it. Like a sticker. You can zoom in, rotate, and place things with actual visual precision.
Here’s the real-world scenario that sold me: I was engraving a set of leather coasters with a monogram in the center. On my old machine, I’d measure the coaster, mark the center with a pen, and pray. On the M2, I put the coaster on the bed, hit “capture,” and the camera showed me exactly where the coaster sat. I dragged the monogram to the center of the visible coaster on screen. It took eight seconds. The engraving came out dead center. First try.
The close-up camera also lets you preview the exact spot the laser will hit before you press start. That alone saves more material than the price difference between this and a cheaper machine. If you’ve ever wasted a $20 piece of walnut because you misjudged the x-offset by 2mm, you understand.
Class 1 Enclosure Actually Means SomethingSee Today’s Deal on Amazon
The “Class 1” rating is the thing that made me trust this machine enough to leave it running while I’m not staring at it. For the uninitiated, Class 1 means the laser is fully enclosed and the beam can’t escape under normal operation. No goggles required. No “laser warning” anxiety every time you press start.
The enclosure is solid. Metal frame, tinted acrylic panels, and a lid that locks with a magnetic latch. The interlock switch cuts power the second the lid opens — I tested this out of paranoia, and yes, the laser stops dead. No runaway burns.
More importantly, the enclosure has proper ventilation ports on the back. I hooked up a cheap 4-inch inline fan and vented it out my window. The smell is manageable — you still get that burnt wood aroma, but it’s nowhere near the “I just set my kitchen on fire” level of open-frame diode lasers.
One thing nobody tells you: because it’s enclosed, it’s also quieter. The air assist pump is still audible, but the beam itself doesn’t hiss and crackle as loud since it’s contained. I can run it in my home office without wearing earplugs. My old machine sounded like a swarm of angry bees.
The 10W Power Sweet Spot
I see a lot of people obsessing over wattage. “Why not get a 20W or 30W?” Here’s the deal: more power doesn’t mean better results — it means faster cutting and the ability to work with thicker materials. But it also means more burn risk on delicate stuff like paper and fabric.
The 10W diode in the M2 is the sweet spot for what most hobbyists actually do. It cuts 3mm basswood plywood in about two passes at moderate speed. It engraves walnut, cherry, and oak beautifully — the contrast on dark woods is clean, and you can get that classic “burnt amber” tone without over-charring.
Leather is where it shines. I’ve been making custom dog collars and wallets, and the M2 handles veg-tan leather with surgical precision. At 80% power and 1500mm/min, I get a deep, dark engrave with crisp edges. No melting, no burned-through spots. Felt and fabric? It burns through thin felt cleanly at low power — 20% power, 3000mm/min, and you get a nice cut without singed edges curling up.
The 10W also means it’s forgiving. If you mess up a setting, you’re more likely to get a light scorch you can sand off rather than a hole burned straight through your project. That’s the kind of mistake tolerance beginners need.
Software: XCS Is Clunky But Functional
Here’s my biggest gripe. The software — xTool Creative Space (XCS) — does everything you need, but it’s not pretty. The interface feels like it was designed by engineers, not designers. The camera alignment feature is a godsend, but the rest of the UI has a learning curve.
You import an SVG, place it, adjust power/speed, and hit go. That’s the core workflow, and it’s solid. But you’ll spend time hunting for settings. Want to change the engraving direction? It’s buried in a dropdown. Want to adjust the “image offset” for the close-up camera? Good luck finding it on the first try.
That said, once you learn the quirks, it’s reliable. I’ve run 200+ jobs through XCS without a single crash or corrupted file. That’s more than I can say for the LightBurn-like clones that came with my previous machines. And it does support LightBurn if you want to use that instead — I’ve tested it, and it works natively. That’s a big deal for people who already know LightBurn.
Assembly and Setup: 15 Minutes, No Blood See Today’s Deal on Amazon
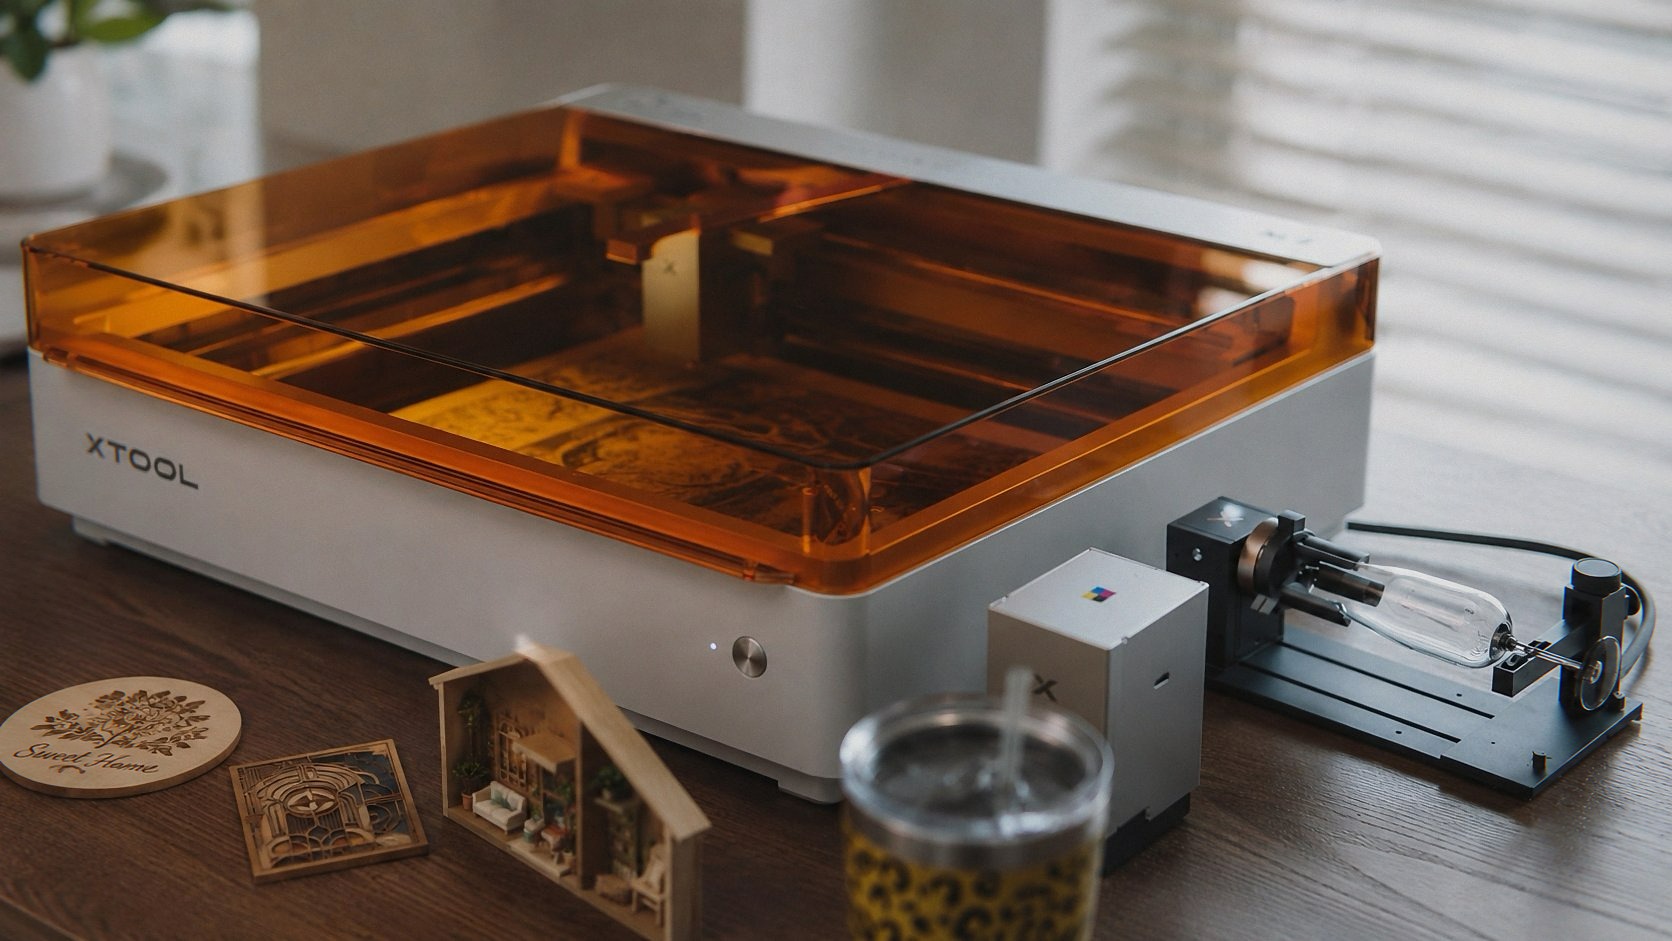
I’m not handy. I’ve assembled IKEA furniture that ended up with extra screws and a vague sense of shame. The M2 took me 15 minutes out of the box. It comes mostly pre-assembled — you attach the lid, plug in the air assist tube, and connect a few cables. The manual has actual diagrams, not just blurry photos.
The built-in honeycomb workbed is a nice touch. It’s rigid, doesn’t warp, and the honeycomb pattern means less back-reflection. My old machine had a cheap aluminum honeycomb that sagged in the middle after a few months. This one feels like it’ll hold up.
One minor annoyance: the bed is 12.4” x 12.4” (315mm x 315mm), which is big enough for most projects but not huge. If you’re planning on cutting full sheets of plywood, you’ll be disappointed. But for coasters, signs, keychains, leather goods, and small art prints, it’s perfect.
The Price Question: Is $599 Worth It?
I’m not going to sugarcoat this. $599 is a lot of money for a hobby tool. You can get a 10W open-frame laser with a basic enclosure for half that. I’ve owned those. They work, but they’re frustrating.
Here’s what you’re paying extra for with the M2:
- The dual cameras. This isn’t a gimmick — it saves you 10-15 minutes per project on alignment alone. Over a year of weekly use, that’s 10+ hours of your life back.
- The Class 1 enclosure. You can run this in your apartment without worrying about blinding your cat or starting a fire. That’s peace of mind you can’t put a price on.
- Build quality. Aluminum frame, solid hinges, proper strain relief on cables. It feels like a tool, not a toy.
If you’re a serious hobbyist who will use this more than once a month, the M2 pays for itself in material savings and time. If you’re just curious about lasers and might use it twice, buy a cheap one and see if you like the hobby first.
I’ve also been eyeing the BlazeX M3 10W Laser Engraver Machine, 0.01mm Ultra-precision Laser Cutter and Engraver Machine for Wood Metal Glass Leather, Beginner-Friendly, with Enclosure Honeycomb Engraving Materials, Class 1 as a budget alternative — it’s got similar specs at a lower price point, but you’re giving up the camera alignment and the software polish. If you’re on a tight budget, that’s the one to look at. But if you’ve got the cash, the M2 is the one I’d buy again.
What Still Annoys Me
I said I’d be honest, so here’s the stuff I don’t love:
- The air assist pump is loud. It’s a little diaphragm pump that sits on your desk and buzzes like a dying mosquito. I ended up buying a separate air compressor and switching to a quieter pump. Not a dealbreaker, but annoying.
- The included material samples are a joke. You get a few small pieces of wood and acrylic, but they’re too thin to really test settings. You’ll burn through your own materials learning the machine.
- The lid doesn’t stay open on its own. There’s no gas strut or prop rod. You have to hold it with one hand while you place materials. Minor, but it gets old after the 50th time.
- The power cord is short. Like, annoyingly short. I had to use an extension cord out of the box.
Also, the software updates frequently, and sometimes they change the UI layout. I got comfortable with one version, then an update shuffled the buttons around. Not a functional issue, just a small learning curve every few weeks.
Who Should Buy This
If you’re a beginner and you’re tired of fighting with cheap machines, this is the one to get. The cameras eliminate the biggest frustration point — alignment. The enclosure makes it safe enough for indoor use. The 10W power is versatile enough for most projects without being overwhelming.
If you’re a veteran laser user who’s already got LightBurn dialed in and a dedicated workspace, you might not need the cameras. But if you’re like me and you’ve been burned (literally) by budget machines, the extra cost is worth it.
I’ve also written about the Artilume T1-P Foldable Laser Engraver 12000mW Laser Engraving Machine | Portable Laser Cutter,APP Control,200x150mm Work Area,0.01mm Precision,Cover & Riser Included for Wood,Leather,Acrylic,Metal if you need something portable that you can throw in a backpack. That one’s got a smaller work area but it folds down to nothing. Different tool for a different job.
Final Thoughts Before You Click Buy See Today’s Deal on Amazon
The xTool M2 10W is the first laser engraver I’ve owned that I actually trust. It’s not perfect — the software has quirks, the air pump is annoying, and the lid prop thing drives me up a wall. But it’s reliable, it’s accurate, and the cameras save me so much time that I can’t imagine going back to a machine without them.
I’ve made custom gifts for friends, engraved wooden signs for my kitchen, cut leather patches for a local motorcycle club, and even made a few pieces I’ve sold at craft fairs. The M2 has paid for itself in the last month alone.
If you pick one up through the links here, I might get a small cut — doesn’t cost you extra and it helps keep the lights on.
If you’ve been staring at laser engravers for weeks, wondering if you should pull the trigger on a budget model or save up for something better, save up. Get the xTool M2. You’ll thank yourself the first time you drag a design over a camera preview and hit “start” without a single moment of doubt. And that’s exactly what you’re paying for — the ability to trust your machine.