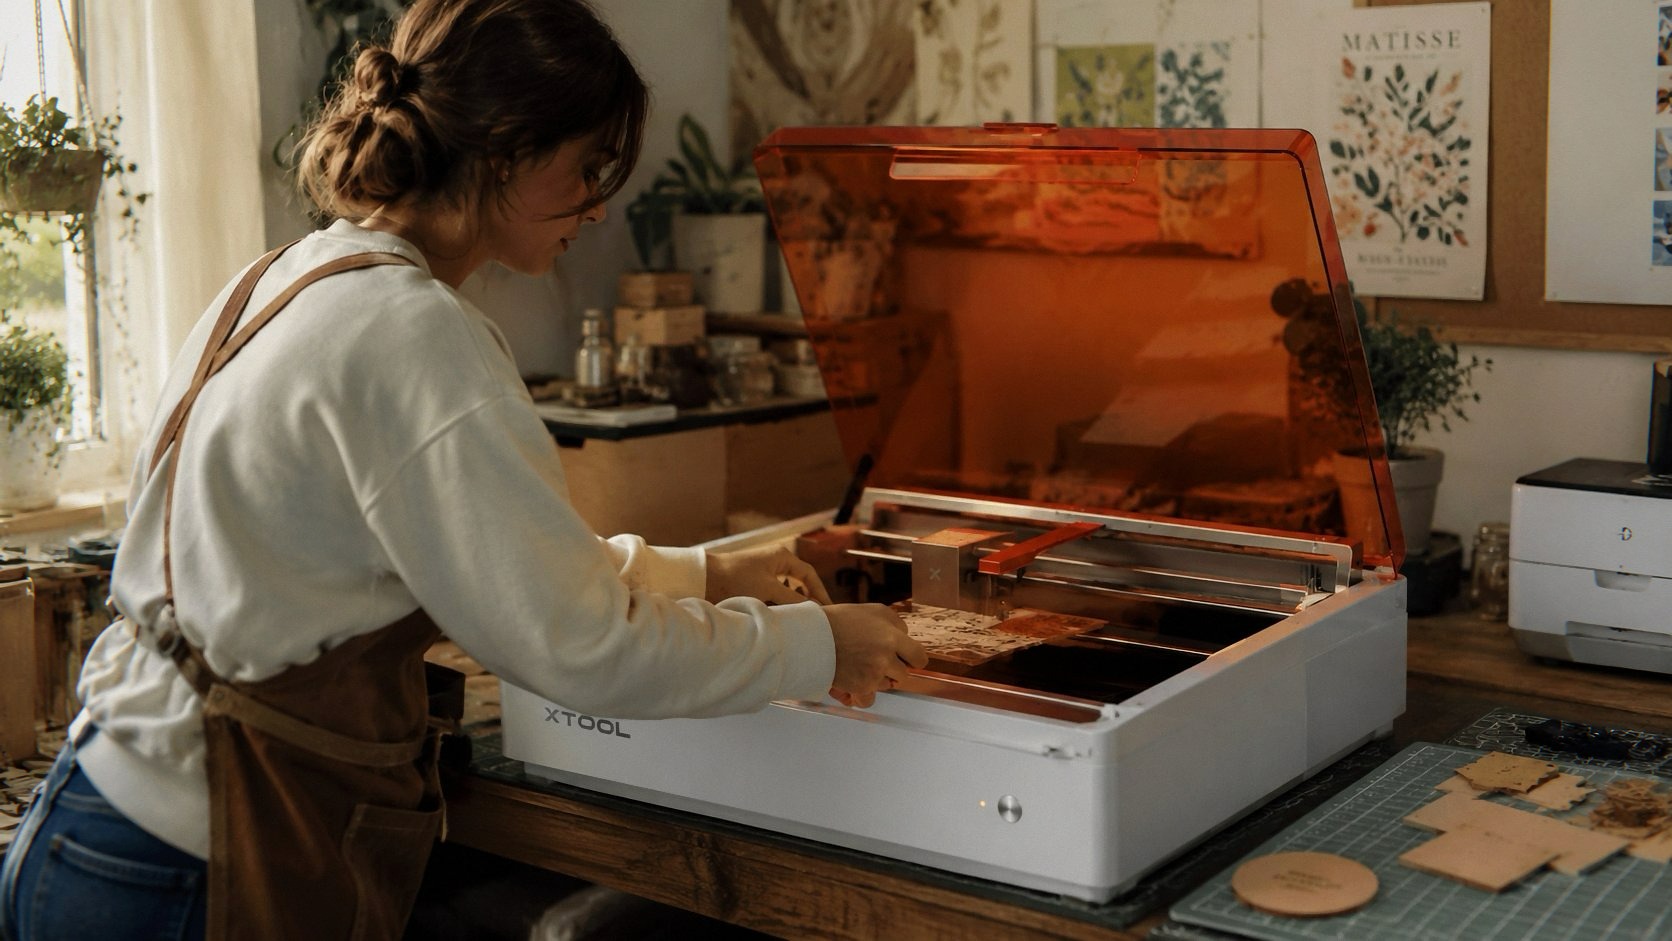
A laser engraver for leather is any diode or CO2 laser that can mark natural hide without cutting through it or leaving a greasy, charred smear. A 5W to 10W diode laser is enough for engraving wallets, keychains, and patches. A 10W to 20W unit is the practical choice if you also want to cut shapes out of 2 to 3 mm hide. Natural vegetable-tanned leather gives the best results, while chrome-tanned and synthetic leather should be avoided.
Leather is one of the most forgiving materials for a beginner and one of the easiest to ruin through a poor material choice. The engraving itself is simple. The trouble starts with the hide you buy, the smoke it produces, and the settings you copy from a forum post written for a different machine.
This guide covers what we found after several weeks of engraving and cutting vegetable-tanned shoulder leather, suede, and a few scraps of synthetic material that we deliberately used to see what goes wrong. It also covers which machines on this site make sense for leather work.
Short Answer: What Makes a Good Laser for Leather
For readers who want the decision before the detail, here is the summary.
- Optical power of 10W is the sensible starting point. A 5W unit engraves leather well but cuts slowly and needs several passes through anything thicker than 2 mm.
- A diode laser is fully adequate. Leather absorbs blue light well because it is dark and organic, so you do not need a CO2 tube for this material.
- Air assist matters more than extra wattage. Without it, leather leaves a sticky brown film around every line.
- Ventilation is not optional. Burning hide produces a heavy smell that lingers in fabric and furniture for days.
- Only vegetable-tanned leather is a safe default. More on that below.
Which Leathers Are Safe to Engrave
Most failures in leather engraving trace back to the material, not the laser. The table below summarizes what we tested.
| Leather type | Engraves well | Cuts well | Safety note |
|---|---|---|---|
| Vegetable-tanned (natural, undyed) | Yes, deep dark brown lines | Yes, up to about 3 mm on a 10W unit | Safest option, normal smoke only |
| Vegetable-tanned (dyed) | Yes, contrast varies by dye | Yes | Check the dye is not heavily coated |
| Suede and split leather | Fair, fibers fuzz and lose detail | Yes | Fine for cutting, poor for fine text |
| Chrome-tanned leather | Marks, but with a rough finish | Poor, edges stay stiff | Tanning salts can release harmful fumes, avoid |
| Bonded or reconstituted leather | Inconsistent | Inconsistent | Glue binders smoke heavily, avoid |
| PU or PVC faux leather | Not recommended | Not recommended | PVC releases chlorine gas, never burn it |
Material rule: If you are unsure whether a hide is vegetable-tanned, ask the supplier. If the product description does not say, assume it is not. Never laser anything containing PVC or vinyl, because the chlorine released corrodes the machine and is dangerous to breathe.
Natural vegetable-tanned leather also reacts to the laser by darkening, which is why engraved lines look like they were burned in with a hot tool. A pale, undyed piece will show the best contrast. Dark brown or black dyed leather shows much less.
Tested Settings for Common Leather Jobs
The figures below come from a 10W diode laser with air assist running at low pressure. Treat them as a starting point and run a small test grid on an offcut before every new batch of leather, because thickness and tanning vary from one hide to the next.
| Job | Leather thickness | Power | Speed | Passes | Result |
|---|---|---|---|---|---|
| Fine text and logos | 2 mm vegetable-tanned | 25 to 30 percent | 3000 mm/min | 1 | Crisp dark brown lines |
| Filled graphic or patch | 2 mm vegetable-tanned | 30 to 35 percent | 4000 mm/min | 1 | Even dark fill, minor edge smoke |
| Light surface marking | 1.5 mm veg-tan | 15 to 20 percent | 5000 mm/min | 1 | Pale tan etch |
| Cutting small shapes | 2 mm veg-tan | 100 percent | 300 to 400 mm/min | 1 to 2 | Clean cut, dark edge |
| Cutting thicker hide | 3 mm veg-tan | 100 percent | 200 mm/min | 2 to 3 | Cut through, darker edges |
A few habits made a visible difference in our tests.
- Dampen the surface slightly or cover the leather with low-tack masking tape before engraving. It catches the residue and peels away to leave a cleaner surface.
- Set the line interval to around 0.08 to 0.10 mm for filled artwork. Tighter spacing over-burns the hide and leaves it brittle.
- Keep the focus exact. Leather has a slightly uneven surface, so a spot that is off by a millimeter produces a blurry, wider line.
- Weigh the leather flat with a few small magnets or pins if it curls. A curled edge moves out of focus mid-job.
Diode or CO2 for Leather Work
For most people the question is settled quickly, but it is worth being direct about the tradeoff.
| Factor | Diode laser (10W to 20W) | CO2 laser (40W and up) |
|---|---|---|
| Engraving quality on veg-tan | Excellent | Excellent |
| Cutting 3 mm hide | Slow, needs passes | Fast, single pass |
| Typical price | Lower | Higher |
| Footprint | Compact | Larger, needs a tube and cooling |
| Maintenance | Minimal | Water cooling, alignment, tube life |
If leather goods are a side project or a small online shop, a diode laser is the economical choice. If you are cutting hundreds of pieces a week, a CO2 machine will pay back its cost through speed. Our desktop laser engraver overview covers where each type fits in a home workshop.
Machines Worth Considering for Leather
These are machines we have covered in full reviews. Each suits a different kind of leather worker.
For beginners making keychains and small gifts
The xTool M2 review covers an enclosed machine with built-in cameras and a smoke-contained design. Leather smoke is the most annoying part of this hobby, and an enclosed body with an exhaust port keeps most of it out of your living space. It is the easiest of these to set up and the least intimidating for a first project.
You can check current pricing here: xTool M2 10W on Amazon.
For cutting thicker hide and wider work
The xTool D1 Pro 20W review covers an open-frame machine with a larger working area and more power. It handles 3 mm leather in fewer passes and has room for belts, straps, and larger panels. It does need separate ventilation and eye protection, so plan your workspace first.
Current pricing: xTool D1 Pro 20W on Amazon.
For high-power diode cutting on a budget
The Atomstack A20 Pro review looks at a 20W unit built for faster cutting. It suits makers who plan to cut stacked leather pieces or mix leather with wood and acrylic.
Current pricing: Atomstack A20 Pro on Amazon.
If you have not chosen a first machine yet, the best laser engraver for beginners and best entry-level laser engraver comparisons are a better starting point than any single model.
We earn a small commission if you buy through the links above. It does not change the price you pay and it does not affect our testing.
Smoke, Smell, and Safety
Burnt leather smells strongly, and the smell clings to clothing, curtains, and soft furnishings. Plan for it before you plan your first project.
- Vent the exhaust outdoors through a window or duct. A carbon filter alone does not remove all of the odor from leather.
- Run the fan for a few minutes after the job finishes so the remaining smoke clears the enclosure.
- Wear laser safety glasses rated for your machine’s wavelength, especially on open-frame machines.
- Never leave a running laser unattended. Leather can flare briefly, particularly when it is dry or oiled.
- Keep a small fire extinguisher or a damp cloth within reach.
If your machine uses a filter, replacing it on schedule matters. Our notes on replacement carbon filters explain what to look for.
Finishing also matters. After engraving, wipe the surface lightly with a damp cloth to remove residue. Once dry, a thin coat of leather conditioner restores the surface and deepens the engraved lines slightly. Avoid heavy oils before engraving, because they smoke and leave dark halos around the design.
Common Mistakes to Avoid
- Using chrome-tanned or synthetic leather because it was cheaper. The savings are not worth the fumes.
- Copying power and speed values from another machine. Always run a test grid.
- Skipping air assist. Residue builds up and the engraving looks smudged.
- Engraving too deep. Leather loses strength where it is burned heavily.
- Forgetting to account for the hide’s natural variation. Neck, shoulder, and belly areas engrave differently.
Frequently Asked Questions
Can a 5W diode laser engrave leather?
Yes. A 5W diode laser engraves vegetable-tanned leather well, especially for text and small logos. It is slower for filled artwork and struggles to cut anything thicker than 2 mm cleanly.
Is it safe to laser engrave any kind of leather?
No. Vegetable-tanned leather is the safe default. Avoid chrome-tanned leather, bonded leather, and any PU or PVC faux leather, because they can release harmful fumes when burned.
Do I need a CO2 laser to cut leather?
No. A 10W to 20W diode laser cuts 2 to 3 mm leather, though it takes more passes than a CO2 laser. For occasional projects, a diode laser is enough.
Why does my engraved leather look sticky or smudged?
The usual causes are missing air assist, too much power, or a very oily hide. Lower the power, add air assist, and cover the surface with masking tape before the next test.
What settings should I start with for leather engraving?
On a 10W diode laser, start at around 25 to 30 percent power and 3000 mm/min on 2 mm vegetable-tanned leather, then adjust after a test grid. Different hides respond differently, so test each new batch.
Can I engrave leather and wood with the same machine?
Yes. Most diode lasers handle both. Our guides to the best laser engraver for wood and the best wood for laser cutting cover the wood side, and the acrylic laser cutter guide covers the material that needs a different wavelength.