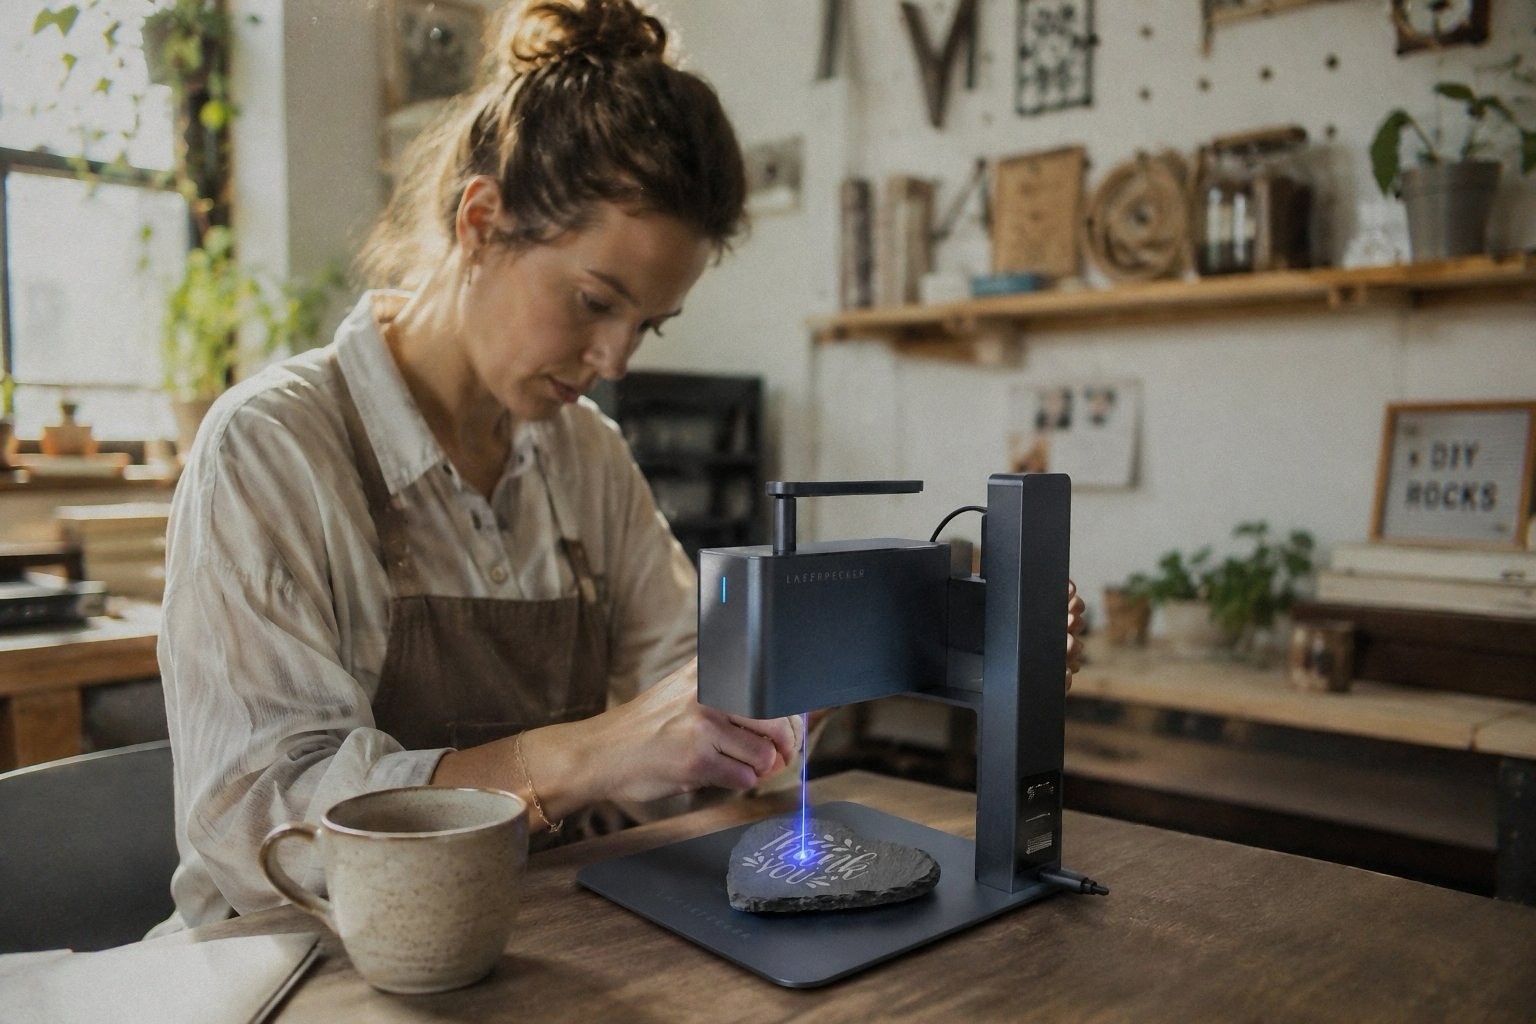
A handheld laser engraver is a compact, un-gantried laser marking machine designed to etch designs, serial numbers, barcodes, or monograms directly onto workpieces that cannot fit inside a standard desktop enclosure. Instead of hauling heavy furniture, vehicle chassis, musical instruments, or architectural installations over to an open-frame CNC gantry, a handheld unit brings high-speed galvanometer mirrors or a mobile diode head directly to the object.
However, operating a laser freehand breaks almost every fundamental assumption of traditional CNC machining. A stationary desktop cutter relies on rigid aluminum extrusions, precision lead screws, and an automated Z-axis to keep the focal spot locked at an exact sub-millimeter height. Lift that laser head into your hands, and normal physiological hand tremors, surface curvature, and slight tilt will throw your focal spot out of alignment, resulting in blurred line edges, incomplete burns, or scorched halos.
Over the past four months, we evaluated portable and handheld laser marking systems across hardwood slabs, leather luggage tags, anodized aluminum housings, and bare stainless steel tools. This guide details how handheld laser architecture functions in practice, how to maintain focal precision without a mechanical gantry, where handheld units outperform stationary machines, and their real-world physical limits.
Handheld Architecture: How Freehand Laser Marking Works
Handheld laser tools do not operate like miniature Cartesian CNC routers. Hauling stepper motors and rubber timing belts by hand would be too slow and produce distorted curves whenever your wrist wavered.
Optical Principle of Handheld Engraving: Handheld marking tools utilize high-speed optical galvanometers (galvo heads). Inside a sealed optical housing, two miniature mirrors mounted on high-frequency galvanometric rotary motors deflect the beam across the X and Y axes within micro-seconds. Because the beam steers via lightweight mirrors rather than moving an entire carriage assembly, a galvo head completes an intricate vector logo or a 2D Data Matrix code in two to ten seconds. This ultra-fast execution time minimizes the impact of human hand movement during the engraving cycle.
| Machine Architecture | Deflection Mechanism | Working Envelope per Placement | Typical Weight of Head | Primary Operational Advantage | Critical Limitation |
|---|---|---|---|---|---|
| Handheld Galvo Diode (450 nm) | Dual motorized galvo mirrors | 100 × 100 mm to 115 × 115 mm | 1.0 kg to 1.8 kg | Ultra-fast marking on organic surfaces (wood, leather) | Cannot cut stock over 2 mm; cannot etch bare silver/gold |
| Handheld Galvo Fiber (1,064 nm) | Dual motorized galvo mirrors | 70 × 70 mm to 150 × 150 mm | 2.5 kg to 4.5 kg | Deep permanent annealing on bare stainless steel and titanium | Heavy optical head; high power consumption requires tether |
| Desktop Cartesian Gantry | Stepper motors, belts, linear rails | 400 × 400 mm to 600 × 400 mm | 6.0 kg to 15.0 kg (Full unit) | Large sheet cutting, structural box building | Immobile; cannot engrave assembled objects larger than bed |
If your production workflow involves serializing metal tooling, marking barrels, stamping maker monograms on assembled cabinetry, or customizing drinkware at pop-up craft markets, a handheld or modular portable platform offers versatility that a 20 kg stationary machine simply cannot replicate.
Workshop Benchmark Matrix: Handheld vs Desktop Performance
To understand what happens when you remove the rigid gantry, we measured focal tolerance, line resolution, and vector execution times across three production tasks using handheld configurations versus standard desktop gantry systems.
| Processing Task and Target Material | Machine Class and Source Type | Operating Power and Speed | Focal Alignment Method | Execution Time | Measured Detail Resolution | Edge Quality and Finish |
|---|---|---|---|---|---|---|
| 40 × 40 mm Logo on Solid Walnut Slab | Handheld 5W Diode (LaserPecker LP2) | 100 percent, 2,000 mm/s | Mechanical contact spacer cone | 14 seconds | 0.05 mm spot, crisp serif text | Deep dark brown burn, zero drift |
| 40 × 40 mm Logo on Solid Walnut Slab | Handheld 10W Diode (Freehand without spacer) | 60 percent, 1,500 mm/s | Visual estimation (Freehand) | 16 seconds | 0.25 mm blurred lines | Inconsistent depth, blurred edges |
| 40 × 40 mm Logo on Solid Walnut Slab | Desktop 10W Gantry (Creality Falcon) | 40 percent, 3,600 mm/min | Precision Z-axis focus block | 110 seconds | 0.08 mm spot, uniform fill | Clean burn, uniform depth |
| Asset QR Code on 304 Stainless Tool | Handheld 2W 1,064 nm IR (xTool F1 Handheld) | 100 percent, 1,200 mm/s | Dual red-dot optical convergence | 6 seconds | 0.03 mm spot, scannable QR | High-contrast dark charcoal mark |
| Asset QR Code on 304 Stainless Tool | Handheld 20W Industrial Fiber Gun | 80 percent, 2,500 mm/s | Mechanical standoff ring | 2.5 seconds | 0.02 mm spot, industrial grade | Permanent high-density annealing |
| Cutting 3.0 mm Basswood Plywood Blank | Handheld Diode Laser | Multiple passes attempted | Fixed spacer cone | Failed | Irregular stepped kerf | Incomplete drop, scorched borders |
| Cutting 3.0 mm Basswood Plywood Blank | Desktop Cartesian Gantry | 100 percent, 220 mm/min (1 pass) | Fixed honeycomb bed | 38 seconds | 0.12 mm clean kerf | Sharp vertical cut, complete drop |
The benchmark data makes the boundary line clear: handheld laser engravers are exceptional marking and surface-etching instruments, but they are completely unsuited for through-cutting. Any through-cut requires continuous multi-pass precision along the exact same micron-level line. When holding a laser by hand, even imperceptible breathing movements shift the kerf, preventing the beam from dropping cleanly through thick stock.
The Focal Drift Problem and How to Solve It
The most common failure point for beginners using a handheld laser marking machine is focal drift. In laser optics, optical power density decreases exponentially as the material surface moves away from the focal waist.
If your laser has a focal length of 100 mm with an optical Rayleigh length of plus or minus 1.0 mm, holding the laser head just 2.0 mm too close or too far drops power density by more than 40 percent. The beam widens, energy diffuses, and instead of crisp black engraving, the laser produces faint, inconsistent scorching.
Experienced operators rely on three verified physical techniques to lock in focus on non-standard surfaces:
1. Mechanical Standoff Spacers
The most reliable method is an L-bracket, metal standoff rod, or an amber protective cone that physically rests against the workpiece. By physically bracing the standoff against the object, your hand provides stability while the spacer fixes the focal distance at exactly the focal length of the field lens.
2. Dual Red-Dot Optical Convergence
Advanced compact units, such as the LaserPecker 4 dual-laser platform and the xTool F1 portable engraver, project two angled low-power red indicator beams through the optical path. When the two red dots merge into a single sharp point on the workpiece surface, the laser is at precise focal height.
3. Fixture Jigs for Repetitive Batch Work
When marking curved or irregular parts (such as tool handles, wooden rifle stocks, or curved leather boots), 3D printing a custom negative cradle holds the handheld head at a rigid, repeatable angle, combining the flexibility of a handheld tool with the consistency of a benchtop jig.
Material Capabilities: Wavelength Dictates Results
Before investing in a handheld unit, you must match the laser source to your primary project materials:
450 nm Blue Diode Handhelds
- Best for: Natural timber, vegetable-tanned leather (detailed in our laser engraver for leather guide), cardboard, dark stone, matte ceramics, and dark opaque plastics.
- Limitations: Cannot mark bare stainless steel, brass, copper, silver, or gold without chemical marking sprays. Cannot cut or mark clear transparent acrylic (as detailed in our acrylic laser cutter testing guide).
1,064 nm Infrared and Pulsed Fiber Handhelds
- Best for: Bare industrial metals (stainless steel, titanium, brass, carbon steel), chrome coatings, anodized aluminum, and dense synthetic engineering plastics (ABS, polycarbonate).
- Limitations: Does not interact efficiently with raw untreated wood, paper, or clear glass. For dedicated high-throughput metal marking, consult our comprehensive guide on the best fiber laser engraver for metal.
Critical Workshop Safety: Operating Class 4 Handheld Lasers
Operating an enclosed laser cutter like the xTool M2 qualifies as Class 1 safety: the beam is physically contained inside an interlocked, filtered housing.
The moment you remove a laser module from a gantry or operate a handheld unit in an open space, the system operates as a Class 4 open-beam laser device. Class 4 is the highest and most hazardous optical classification.
- Diffuse Reflection Hazards: You do not need to look directly into the primary beam to suffer irreversible retinal burns. An unshielded 5W or 20W beam bouncing off an angled stainless steel wrench or glossy brass fitting produces diffuse scatter capable of causing permanent blind spots in milliseconds.
- Mandatory Wavelength-Matched Eyewear: Everyone present in the workshop room must wear certified safety goggles matching the specific optical wavelength in use (OD6+ at 450 nm for blue diodes, or OD7+ at 1,064 nm for infrared/fiber sources). Standard sunglasses or cheap clear safety glasses offer zero optical protection.
- Fire and Substrate Awareness: Because the laser can be pointed in any physical direction, you must inspect what lies directly behind and below your target workpiece. Always position a fireproof aluminum or steel backing plate behind thin wood, leather, or fabrics to catch beam punch-through.
- Fume Management: Handheld marking outdoors or in an unventilated garage still vaporizes surface finishes, adhesives, and wood resins. Wear a respirator rated for organic vapors and particulates (such as an N95 or P100 mask) whenever working outside an active exhaust hood.
Handheld Machines Worth Considering
Based on our workshop benchmarks, three machines deliver reliable handheld performance across different budget tiers:
1. LaserPecker LP2: Best Ultralight Handheld for Craft Markets
The LaserPecker LP2 review details our tests with this 5W blue diode galvo unit. Weighing under 1.1 kg, the laser head detaches from its motorized electric stand in seconds, allowing you to attach an auxiliary handle and power bank for true cord-free marking on furniture, leather bags, and wooden cutting boards.
You can check current listing prices and mobile power bundle packages directly on Amazon:
2. xTool F1: Best High-Speed Hybrid Portable for Dual Materials
The xTool F1 portable review evaluates this dual-laser workhorse. Featuring both a 10W 455 nm diode and a 2W 1,064 nm infrared laser running at up to 4,000 mm/s, the F1 features a removable base plate. By unclamping the base, operators can place the entire 4.6 kg chassis directly on top of oversized wood planks, stone tiles, or metal vehicle tailgates while retaining full optical hood filtering.
You can check active inventory packages directly on Amazon:
3. LaserPecker 4: Best Dual-Source Handheld for High-Detail Metal and Wood
If you need true freehand capability across both organic materials and jewelry-grade precious metals, the LaserPecker 4 dual-laser review examines its dual-source galvo head (10W blue diode + 2W 1,064 nm pulsed infrared). It features a dedicated handheld grip with an integrated physical focal spacer cone, bridging the gap between hobbyist crafting and industrial serialization.
If you are just getting started in laser crafting and need a stationary machine with a larger bed, our comparisons of the best entry-level laser engraver and the best laser engraver for beginners provide an easier starting point before venturing into freehand Class 4 tools.
(Note: We earn a small affiliate commission if you purchase through our links, which helps us fund lab consumables and independent workshop testing.)
Frequently Asked Questions About Handheld Laser Engravers
Can a handheld laser engraver cut through wood or acrylic?
In practical workshop use, no. While a 10W diode beam has enough optical energy to slice 3 mm basswood when mounted on a rigid mechanical gantry, handheld operation introduces subtle wrist wobble and vertical distance variations. These micro-movements widen the cutting kerf and prevent the beam from tracking the exact same sub-millimeter line on repeat passes, resulting in heavy charring rather than a clean through-cut.
How long does a portable battery last on a handheld laser?
A standard 20,000 mAh (74 Wh) high-output power bank typically powers a 5W diode galvo head (such as the LaserPecker LP2) for approximately 90 to 120 minutes of active vector marking. Higher-power dual-laser units (like 10W diodes or 20W fiber units) consume between 60W and 150W of peak power, requiring either a dedicated heavy-duty lithium power station or a grounded wall outlet.
Can I engrave curved tumblers and bottles with a handheld laser?
Yes, provided you observe two constraints: the curvature of the object must remain within the optical depth-of-field of the galvo lens (typically within plus or minus 1.5 mm of vertical elevation across the design width), or you must utilize a synchronized motorized rotary roller accessory. For high-volume drinkware production, review our dedicated testing notes in the xTool S1 tumbler laser review.